Jane
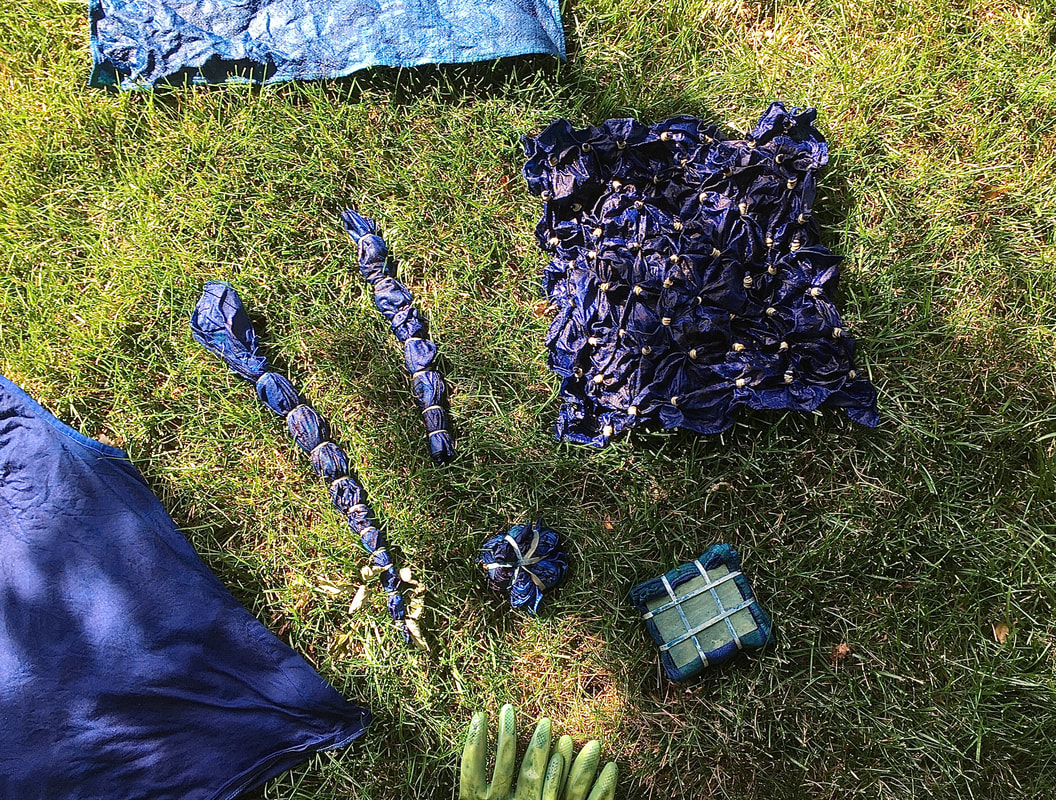
Dying with indigo feels like pure magic to me. This deep rich color develops right before our eyes. 
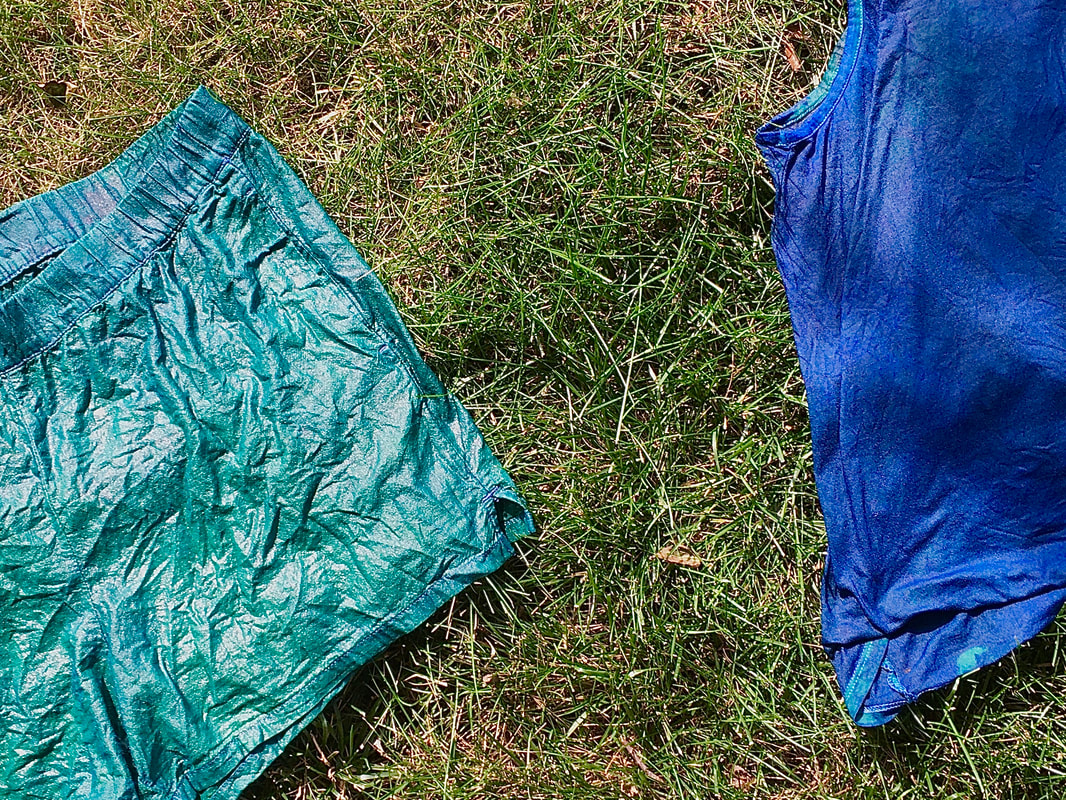
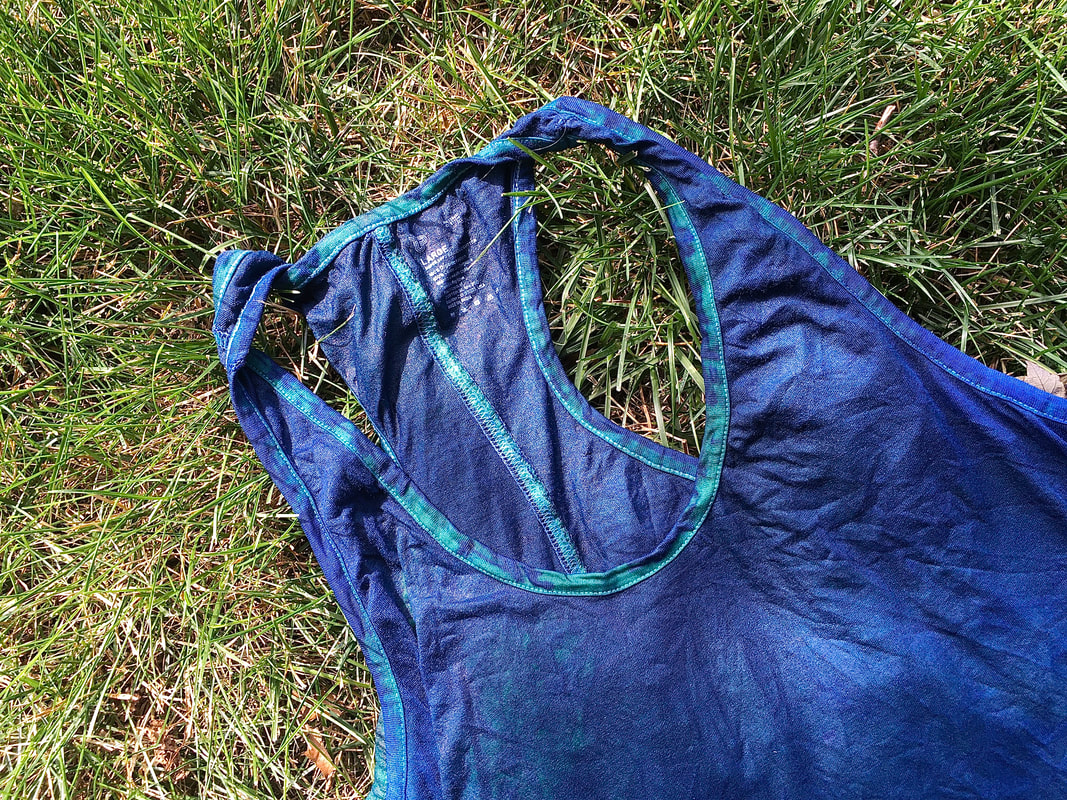
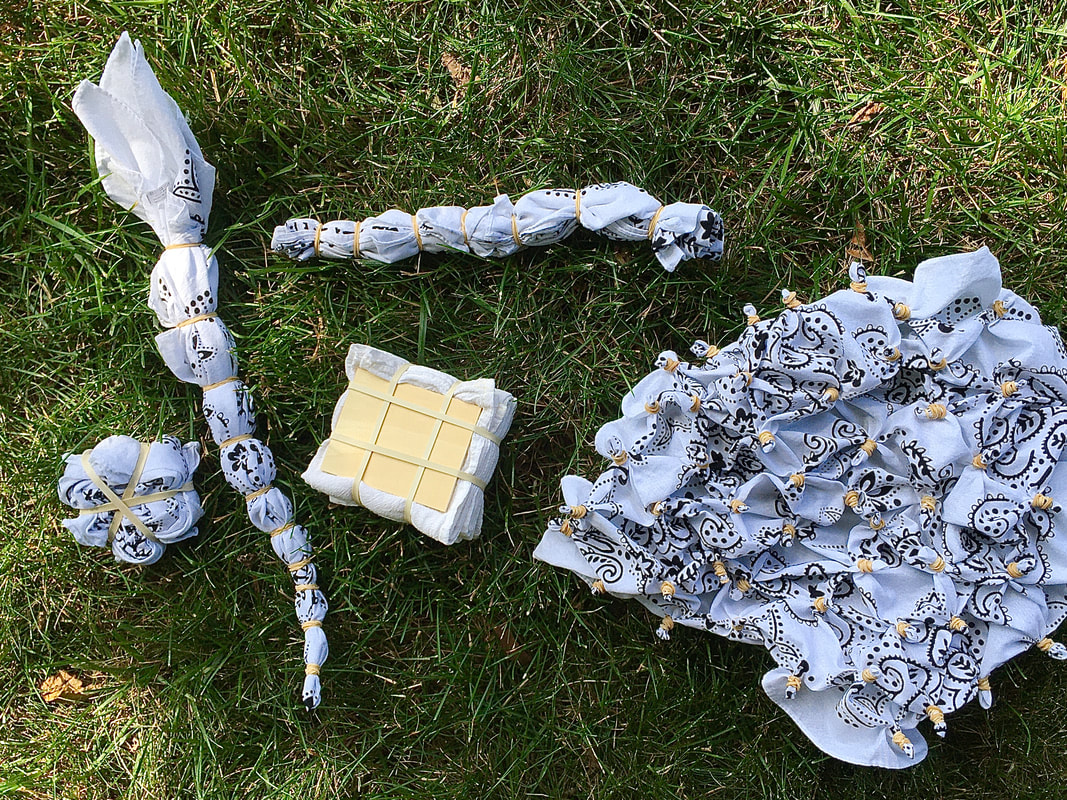
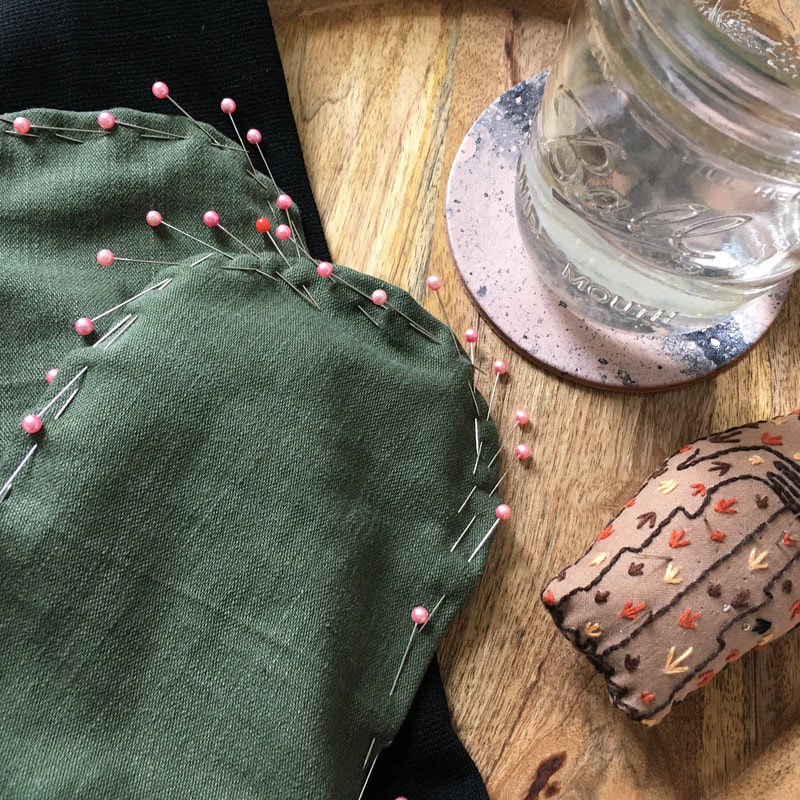
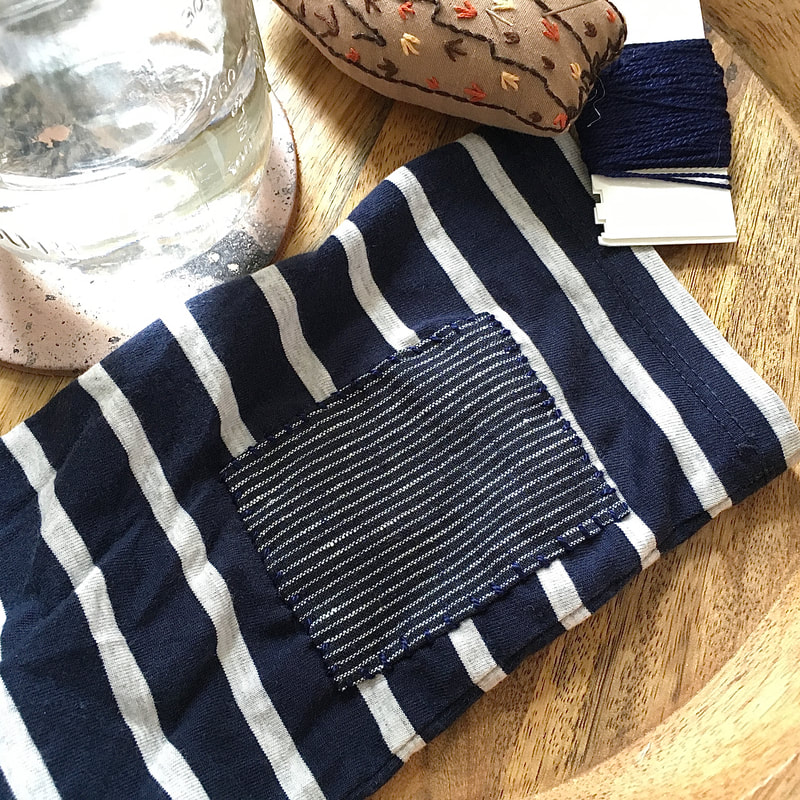
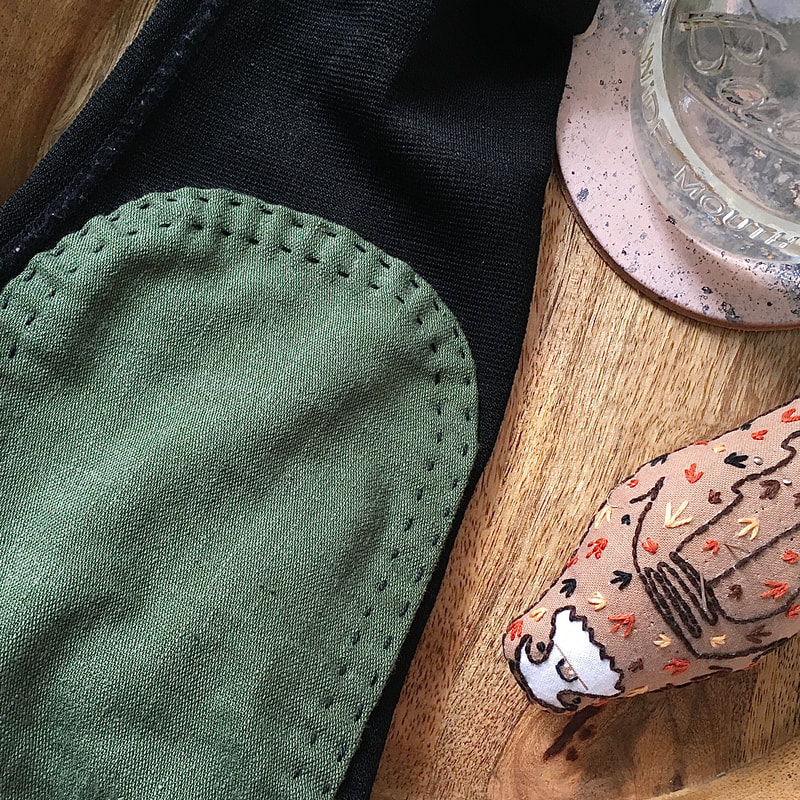
The pieces emerge from the dye vat a beautiful emerald + oxidize into deep indigo. 
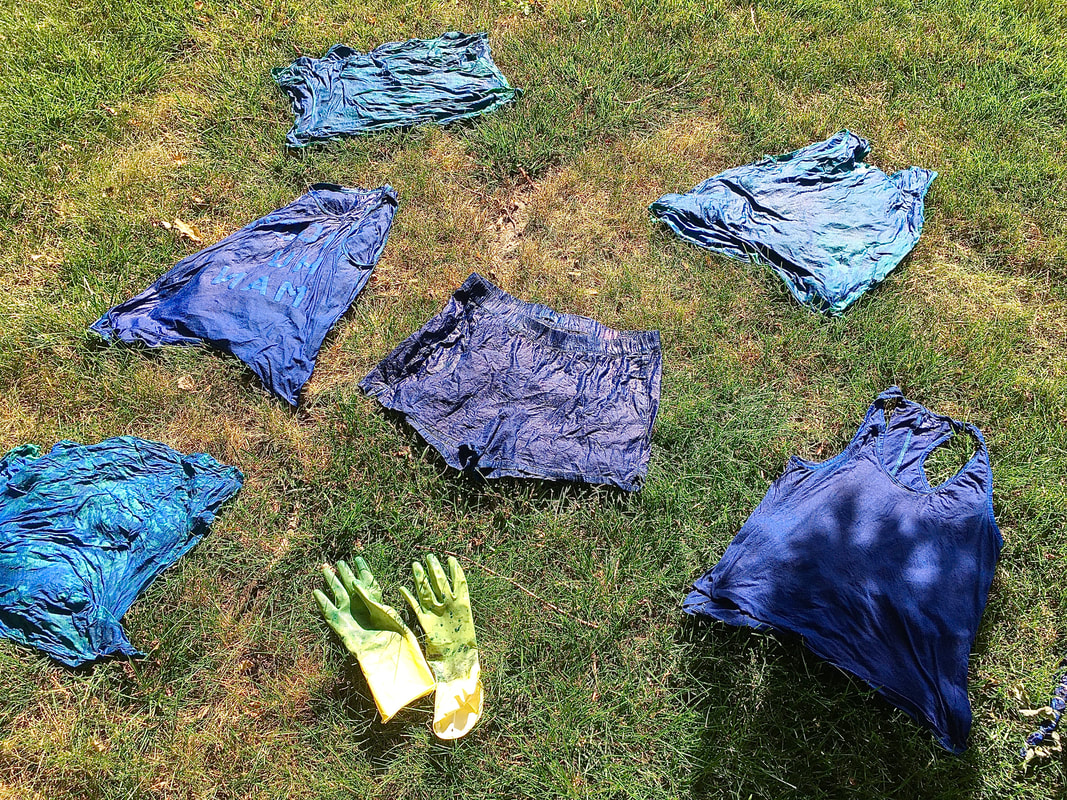
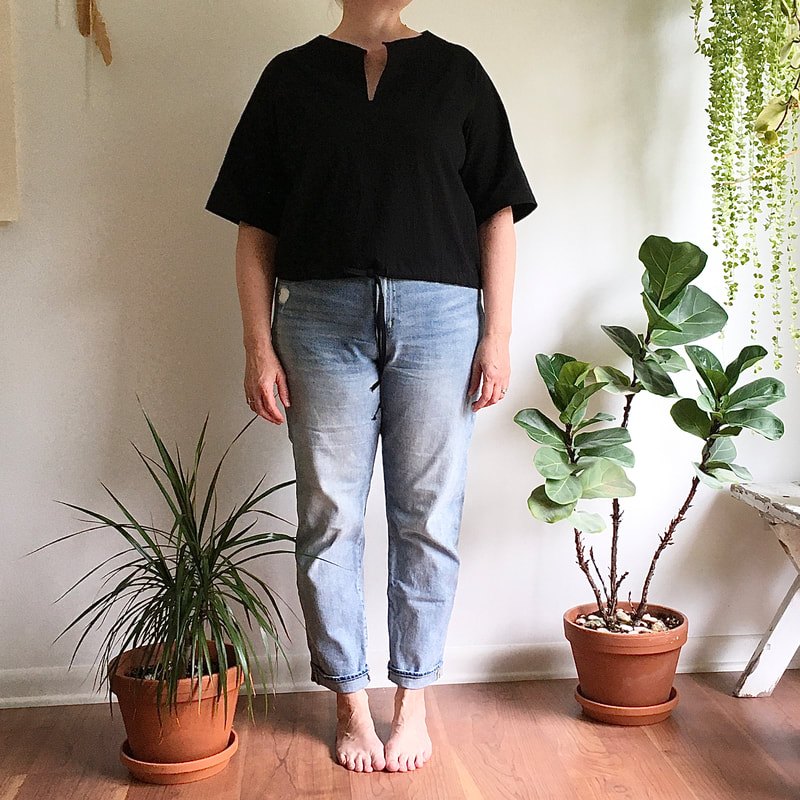
I guess I only wear indigo now. :) Love,
Jane
0 Comments
Since we were trying to squeeze every ounce of fun out of this project, we decided to try a few shibori techniques on our bandanas + kitchen towel. This turned out to be a sort of finger strengthening exercise as well. :) The binds we chose are simple + are meant to produce squares, swirls, stripes + circles. I keep my expectations low with this sort of thing. For me, it's not about perfection...it's just about experimentation, enjoyment + discovery.
Love, Jane My preferred uniform consists of a white top (tank, tee, sweatshirt or button-up) + a pale, worn, denim bottom. I like white tops, but I'm no stranger to a coffee dribble or blueberry tart squirt on my front. Knowing this about myself, I have a plan for that. (sniff, sniff, Elizabeth Warren) White tops are are easiest color to dye.
I've been putting off this batch of dyeing, mostly because I don't want the fun to be over. But I need some tops to be wearable + the dye vat is ready...so here's what I've collected to dye so far: -the aforementioned, blueberry-tart-stained tank -an old, layering tank -a couple of too transparent tanks -a pair of thrifted shorts -the bandanas that we wrap our gifts in -a tea towel of which I have more than one -a stained kitchen towel Dye is a great tool for a more sustainable wardrobe. Not only can stained garments be made useful again, but things that we tire of can be made "new" again. Adding dye to the list of ways we could transform thrifted pieces expands options. I've also found that dyed pieces are often more durable than undyed ones. Let the magic begin. Love, Jane Here's a little, vintage-inspired, sewing project that I made this week. I really like this pattern + can imagine using it in a bunch of different ways...long sleeves, collared, hooded, in a block-printed voile or in a sweatshirt-weight fabric. This summer version involved shortening the sleeves a bit + leaving the collar/hood off. I wanted to make sure that this top was not too snug + also wanted to use a woven fabric. The pattern calls for stretch knits only, so I added 1/2 inch at the fold of the center back + front (+ also on the facing pieces). This added an extra two inches total to the bust circumference. The pattern includes some lovely large facings (why don't we get many of those in modern indy patterns?) which I usually like to sew down for a clean finish that needs no ironing. (yay!) I like vintage, hand-embellished Mexican + Indian tops...and also like to spend time hand stitching...so I hand stitched around the facings + at the sleeve edges. I might add some little patch pockets as well, but ran out of black thread toward the end of sewing the drawstring. I like the slightly cropped length, but might add a couple of inches to the length next time I sew this pattern. Sewing always makes me think of garment workers. I think about all of the costs involved in making this top including the pattern, fabric, shipping, thread, embroidery floss, use of my sewing machine + all of the other tools involved. These costs don't consider the time I put into planning, cutting + sewing (not to mention the unpicking of stitches + restitching I had to do). I was not in a rush, but this top took me most of one day to sew. This always gets me thinking about what a garment should cost, what it is worth + how nondisposable it should be.
Pattern :: vintage Simplicity 7847 Fabric :: lovely, Gordon Cotton, crinkle cotton from Fancy Tiger this time (though I've seen it elsewhere online as well) Love, Jane I don't usually buy magazines these days...and when I do...I take them along to leave at the dentist's or eye doctor's office when I'm finished with them. I had one magazine with nowhere to go for a while, so I decided to get out the scissors. I'm having fun (again revisiting some habits from the past) playing with shapes, color + glue. I think these will pair nicely with the envelopes I made the other day.
I used to make things like these with a bit of the prolific artwork made by my girls. I might pick some autumn-colored paints, for example, and let my toddler paint away on a few sheets of paper. After they dried I'd cut some leaf shapes + let her glue those onto cards that could be sent off to friends + family. :) What are you up to these days? Love, Jane An oversized J.Crew catalog sneaked its way into our mailbox recently + inspired me to do something I started to do when I was a teenager...make envelopes. The pages of my fashion magazines worked as inspiration for outfits, silhouettes, shapes to design + sew, hairstyles...and also as wallpaper, collages, ransom-note-style letters + most often... envelopes. I still love reusing + making things...and it's fun to make envelopes of different sizes + shapes. I based these envelopes on the structure of clasp-style envelopes + just sort of thought backward through the structure in order to determine what cuts to make. A couple of the shapes are shown here before gluing. It might be fun to make envelopes out of an old calendar or children's plentiful artwork. I've also enjoyed making boxes out of these things. They can be a nice way to wrap a gift or deliver some cookies. These envelopes might be used as wrapping for (an upcoming) birthday gift or two + also for letters that will be sent off in the weeks to come. I think they'll make for some happy wrapping + mail.
Love, Jane This is a great time for all of us to be getting all the use we can out of what we have. I love supporting small businesses, and I'm still trying to consume only what I need...and create as little waste as possible.
I was so excited to find this Ilana Kohn Milo jumpsuit secondhand earlier this year. I love the way the top fits, but I wasn't completely into the width of the legs on me. It can be really hard to think about altering a piece like this. I start to weigh the ability to resell an altered, designer piece...which really is quite silly. I bought it because I wanted to wear it! :) I felt like I was considering the value of this piece more as a potential sale rather than as a piece to wear + use. The whole point is to own what we have...to form a relationship with it...to make it our own...and to wear it over + over. So...I ripped out + opened up the hems. The legs were pinned in (using a pair of overalls with legs closer to my preferred width as a guide), and the jumpsuit was tried on. I liked the fit, so I used a chalk pencil to mark my lines + sewed along the line. I checked the fit again (measure twice, cut once)...took a deep breath + cut the excess fabric away. (eek) The raw edges were overstitched + the original hems were sewn back in place. (I'm keeping the cut-off bits in case I need a patch someday.) And now...I am SO happy I went for it! I put the jumpsuit right on + wore it for the rest of the day. (It looks a bit more like an Ilana Kohn Gary now). I used to have a little hesitation about wearing this piece, but now it is exactly right for me...and I'm going to wear it a lot! Love, Jane I'd resisted sewing masks hoping that the expanded manufacturing of N95 masks would catch up with demand...but then...my sister told me that my nephew's hospital had given him two cloth masks to use + wash on alternating days in order to conserve disposable masks. And this week the Centers for Disease Control + Prevention recommended that all Americans wear face masks outside their homes. So...now I'm at work. My choice of sewing patterns is the Fu Face Mask...a free sewing pattern from Joost De Cock available in three sizes. I like that it is a little bit more fitted + ties rather than using elastic (which is more painful on the ears with extended wear + which I don't have on hand). We don't have a printer at home, so normally I use the printer at the library (which is now closed). I was able to enlarge this pattern to the proper size on my computer screen + trace it onto paper (+ added 1/4 inch seam allowances all around). I added a bit of wire at the bridge of the nose for a closer (+ non-glasses-fogging) fit. I also put the straps in at an angle + reinforced them a bit. Eighteen inches seems to be a good length for the ties. I've been praying that mask-wearing would become more normalized, partially so that my family members won't have to be coerced into wearing them. I was incredibly encouraged to find that most of the people in Whole Foods today were wearing some sort of mask. And even if they weren't, I've done enough self-talk to convince myself that this is just too important to be swayed by the thought of what others will think.
Our county has collected more than 3000 masks already + seems to be a bit at a loss for what to do with them at this point. I think New York City could use them, but it looks like I'd need to send them there myself. Just something to be aware of. The masks I've made were first for my family...then I'm sending a few to my parents. If my sister has already sent some, they can share the extras with their neighbors + friends. I'm also going to send some along with Julia to the grocery store where she works. People can wear bandanas, but there may be some service workers (in addition to our friends) who would appreciate a mask. Just a thought. This is obviously a good project for fabric scraps. And in the spirit of zero-waste, I noticed that these masks could also double as a strappy, bra top when this thing is finally over. (ha-ha!) :) Lots of love to you, friends! Jane We are loving these coloring pages from Daren Thomas Magee at Real Fun, Wow! I love that this is a tiny way to support an independent artist (I own some of his other lovely artwork as well!). No thinking of what to draw or paint...the thick outlines are forgiving + the designs are fantastic. About half a page in, I was wondering what we'd do when our watercolors ran out (we have had them for about a decade). :) I love that it was something to do all together with music, tea + a little conversation. I also love having some artwork to put on the fridge again. :) Thank you, Daren!!
Love, Jane Over the past few days, I haven't felt like there's much I can do to make things better. So, today I mended. Halfway through this lovely article that classifies mending as "a quiet, global protest movement", I decided to gather a few mending projects + make something a little better. Mending always has the effect of adding value to these utilitarian objects rather than downgrading their value in my mind. The pieces I'm mending are always the most loved pieces of clothing in our home. They are the hardest working...the most worn. They've taken on the shape of the wearer...someone I love. Both of these pieces had holes at the elbows. One was repaired with a lightweight patch + the other received heavy-duty elbow patches made with fabric leftover from a pair of vintage army pants that were shortened into shorts.
I suppose mending reflects what we are trying to do together with all of our social distancing + staying at home...trying to add a little strength to the fabric of our collective health. Thank you for all the sacrifices you've made for our collective good...not that I'm any sort of authority or anything...I just feel like we could be showing our appreciation for each other right now. I appreciate you, friend. Love, Jane |
on a journey toward zero-waste, simplicity, + compassion :: daring to choose fair one choice at a time
|